Much like a beautiful rose bed or a thriving vegetable garden, a well-kept lawn can be a great source of pride for many homeowners.
Not only does a nice yard leave a good impression, but there is no feeling quite like appreciating the beautiful greenery that surrounds your home that you have personally nurtured and grown.
While a fresh mow can do wonders, sometimes our lawns are simply beyond repair. If your lawn looks a little less vibrant and healthy than usual, it may be time for a re-turf. Laying down a new lawn is a great, fast, and relatively simple way to revamp your entire yard.
Properly maintained turf not only looks fantastic but can have a positive impact on the environment, even more so than other plants. Specifically, did you know that turf has been proven to have a cooling effect and can be up to 30% cooler than artificial grass and 14% cooler than bare soil, especially under the intense Australian sun?
The good news is, you can re-turf your lawn yourself with minimal equipment required. For an extra helping hand, we have provided the steps to guarantee your re-turf job is sustainable and truly puts a new lease of life into your yard.
Steps to Re-turf Your Lawn
1. Plan your yard and grass type
Planning is the key to any successful project. Despite your exciting visions for a sparkly new lawn, it is unlikely it will turn out as imagined without proper preparation, consideration and planning.
Planning your yard means understanding the dynamics of your landscaping area, including sewerage, drainage, size, shade and sun exposure. This is important to make sure the place you are looking to lay turf on is suitable.
When choosing your turf type, you must research the variety of different turf options available and understand how they differ from one another. Not only will the turf type influence the way you prepare the soil foundation, but your yard’s dynamics will also influence the type of turf you choose.
2. Measure and purchase turf accordingly
Turf isn’t something you can purchase and store the leftovers for use another time, so to prevent wasting any turf or money, it is essential you properly measure your space and purchase accordingly.
Measuring your required amount of turf is relatively simple and can be done as a DIY task or with the help of a turf supplier. If you choose to measure yourself, you can find the square meterage of your yard by breaking it up into geometric shapes you can easily measure and add together. Or, if you are more comfortable leaving the logistics to the professionals, acquire the services of your turf supplier to correctly measure your yard.
After you have measured your yard, it is recommended you add an extra 10% to ensure you have enough turf available in case of any damage or unexpected curved land. When you order your turf, time it appropriately so your ground is already adequately prepared and you can lay it as soon as possible.

Prepare
The ground preparation has the potential to take longer than anticipated, depending on the state of your lawn and your experience with landscaping. It is ideal to properly prepare your foundation a few days prior to re-turfing and ordering turf to ensure it arrives only once your area is ready. Ultimately, there is no need to rush the process, and being patient will provide you with the best results.
3. Clear weeds and debris
The first step to lawn preparation is to get rid of any old lawn, weed and debris that may affect the new turf job. We recommend using a rake and a 1 tonne excavator or bobcat loader, which you can hire for a reasonable price without compromising the quality of your job.
Weeds, rocks and debris can be removed easily from your soil with a rake and herbicide and is an important step to ensure all weeds are completely dead and don’t re-shoot through the new turf.
The removal of old turf is most effectively done using small machinery, which can be operated as DIY machinery to ensure you remain in control of your project. Utilising such machinery can save you time and energy, ensuring the job is done correctly from the get-go.
It is vital not to compromise on quality by not removing old grass. It is likely that you are re-turfing because of diseases, weeds, or issues with your previous grass, so understandably, laying new turf over this existing surface is nothing but a band-aid solution.
4. Prepare the soil
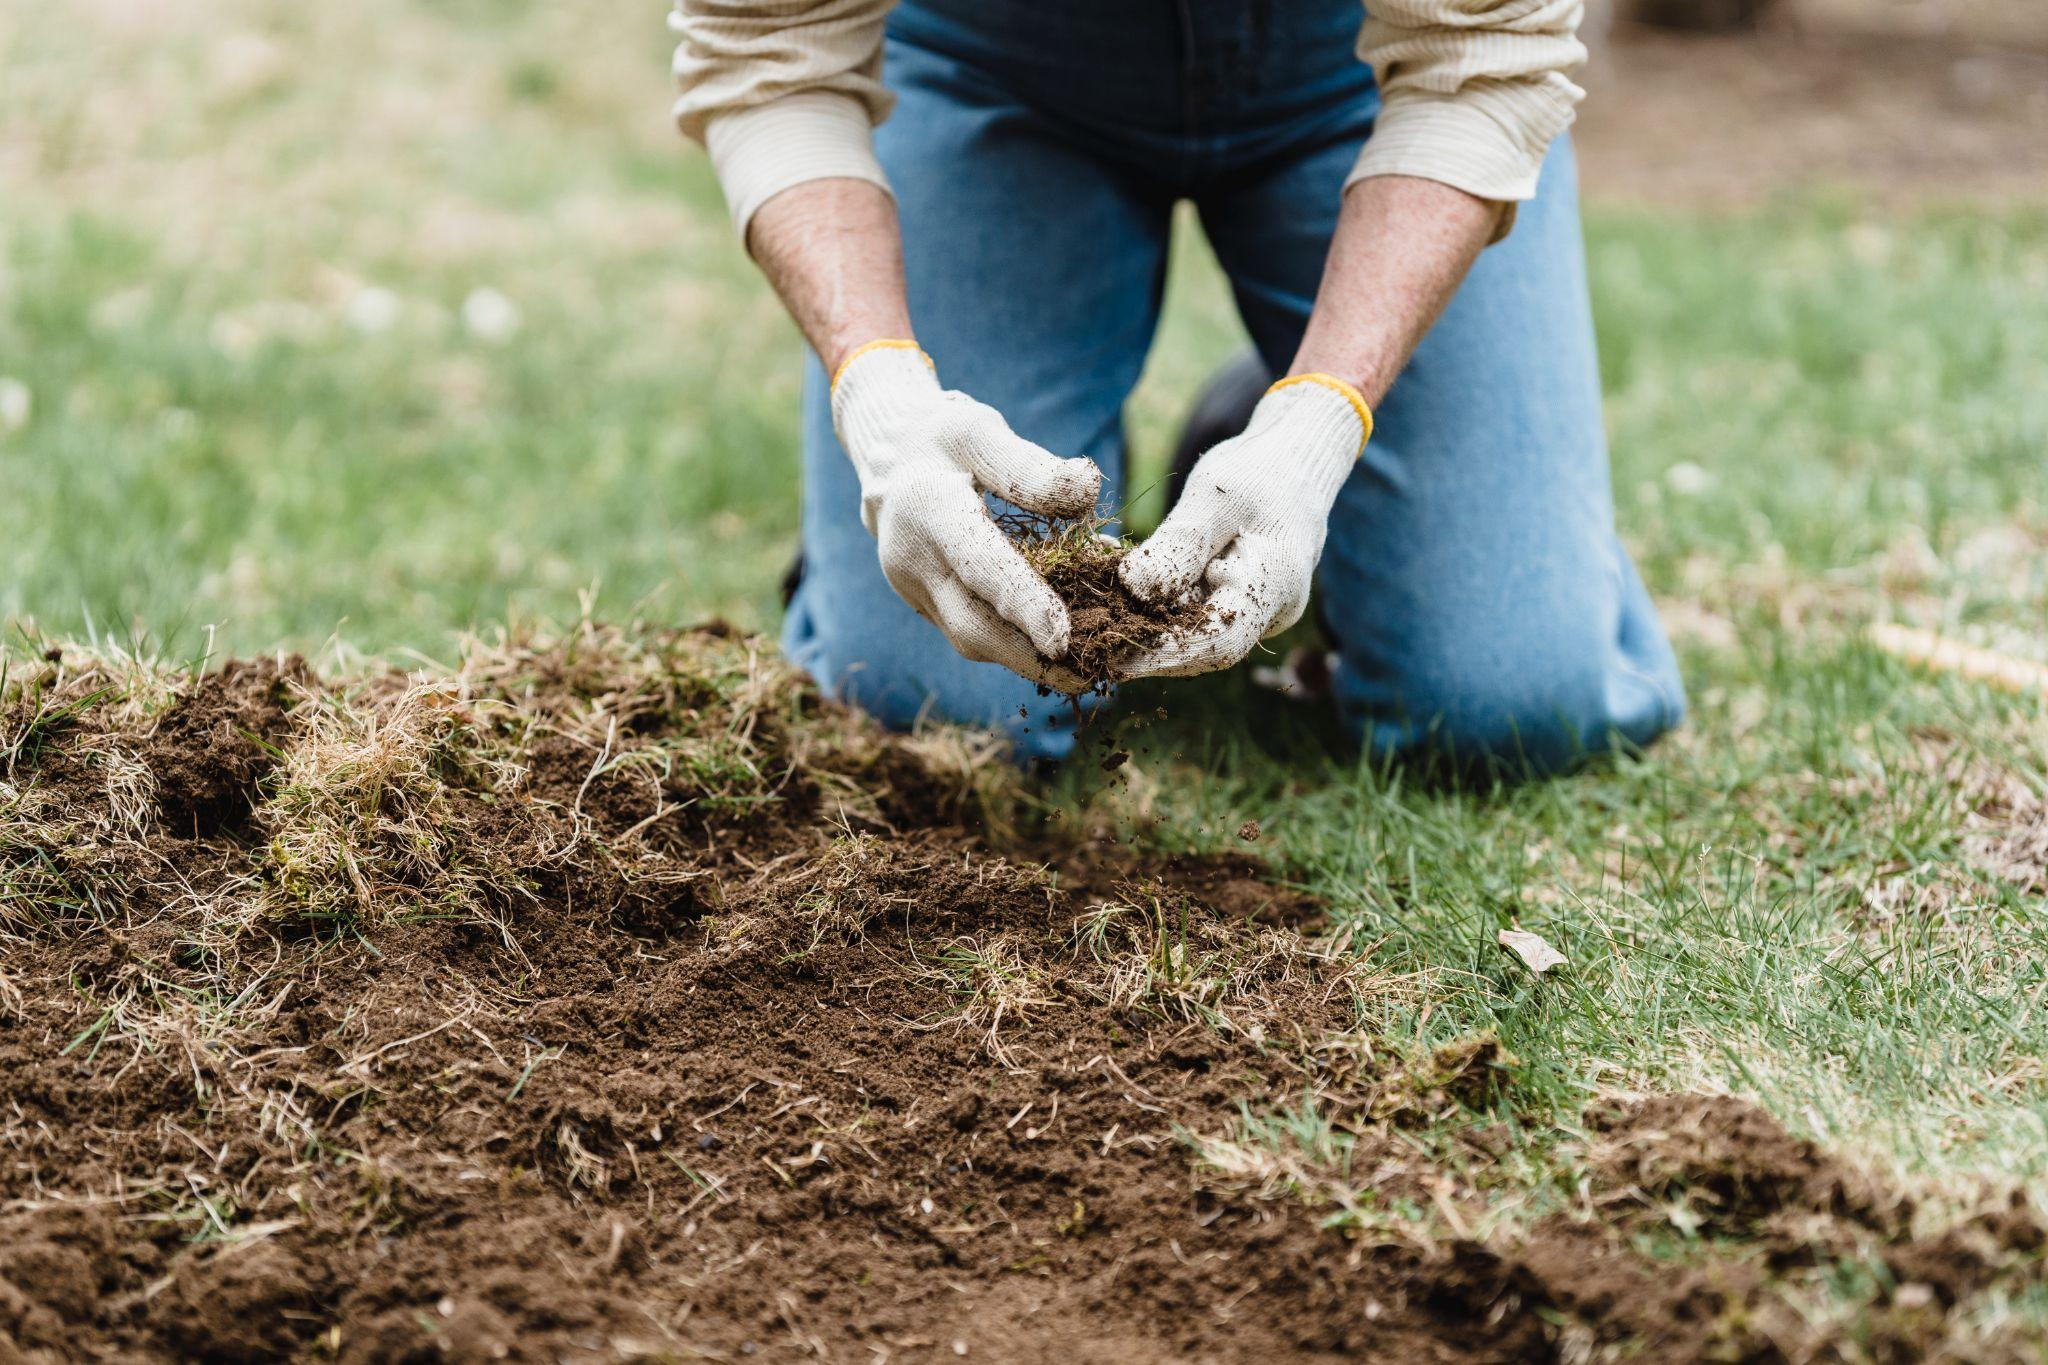
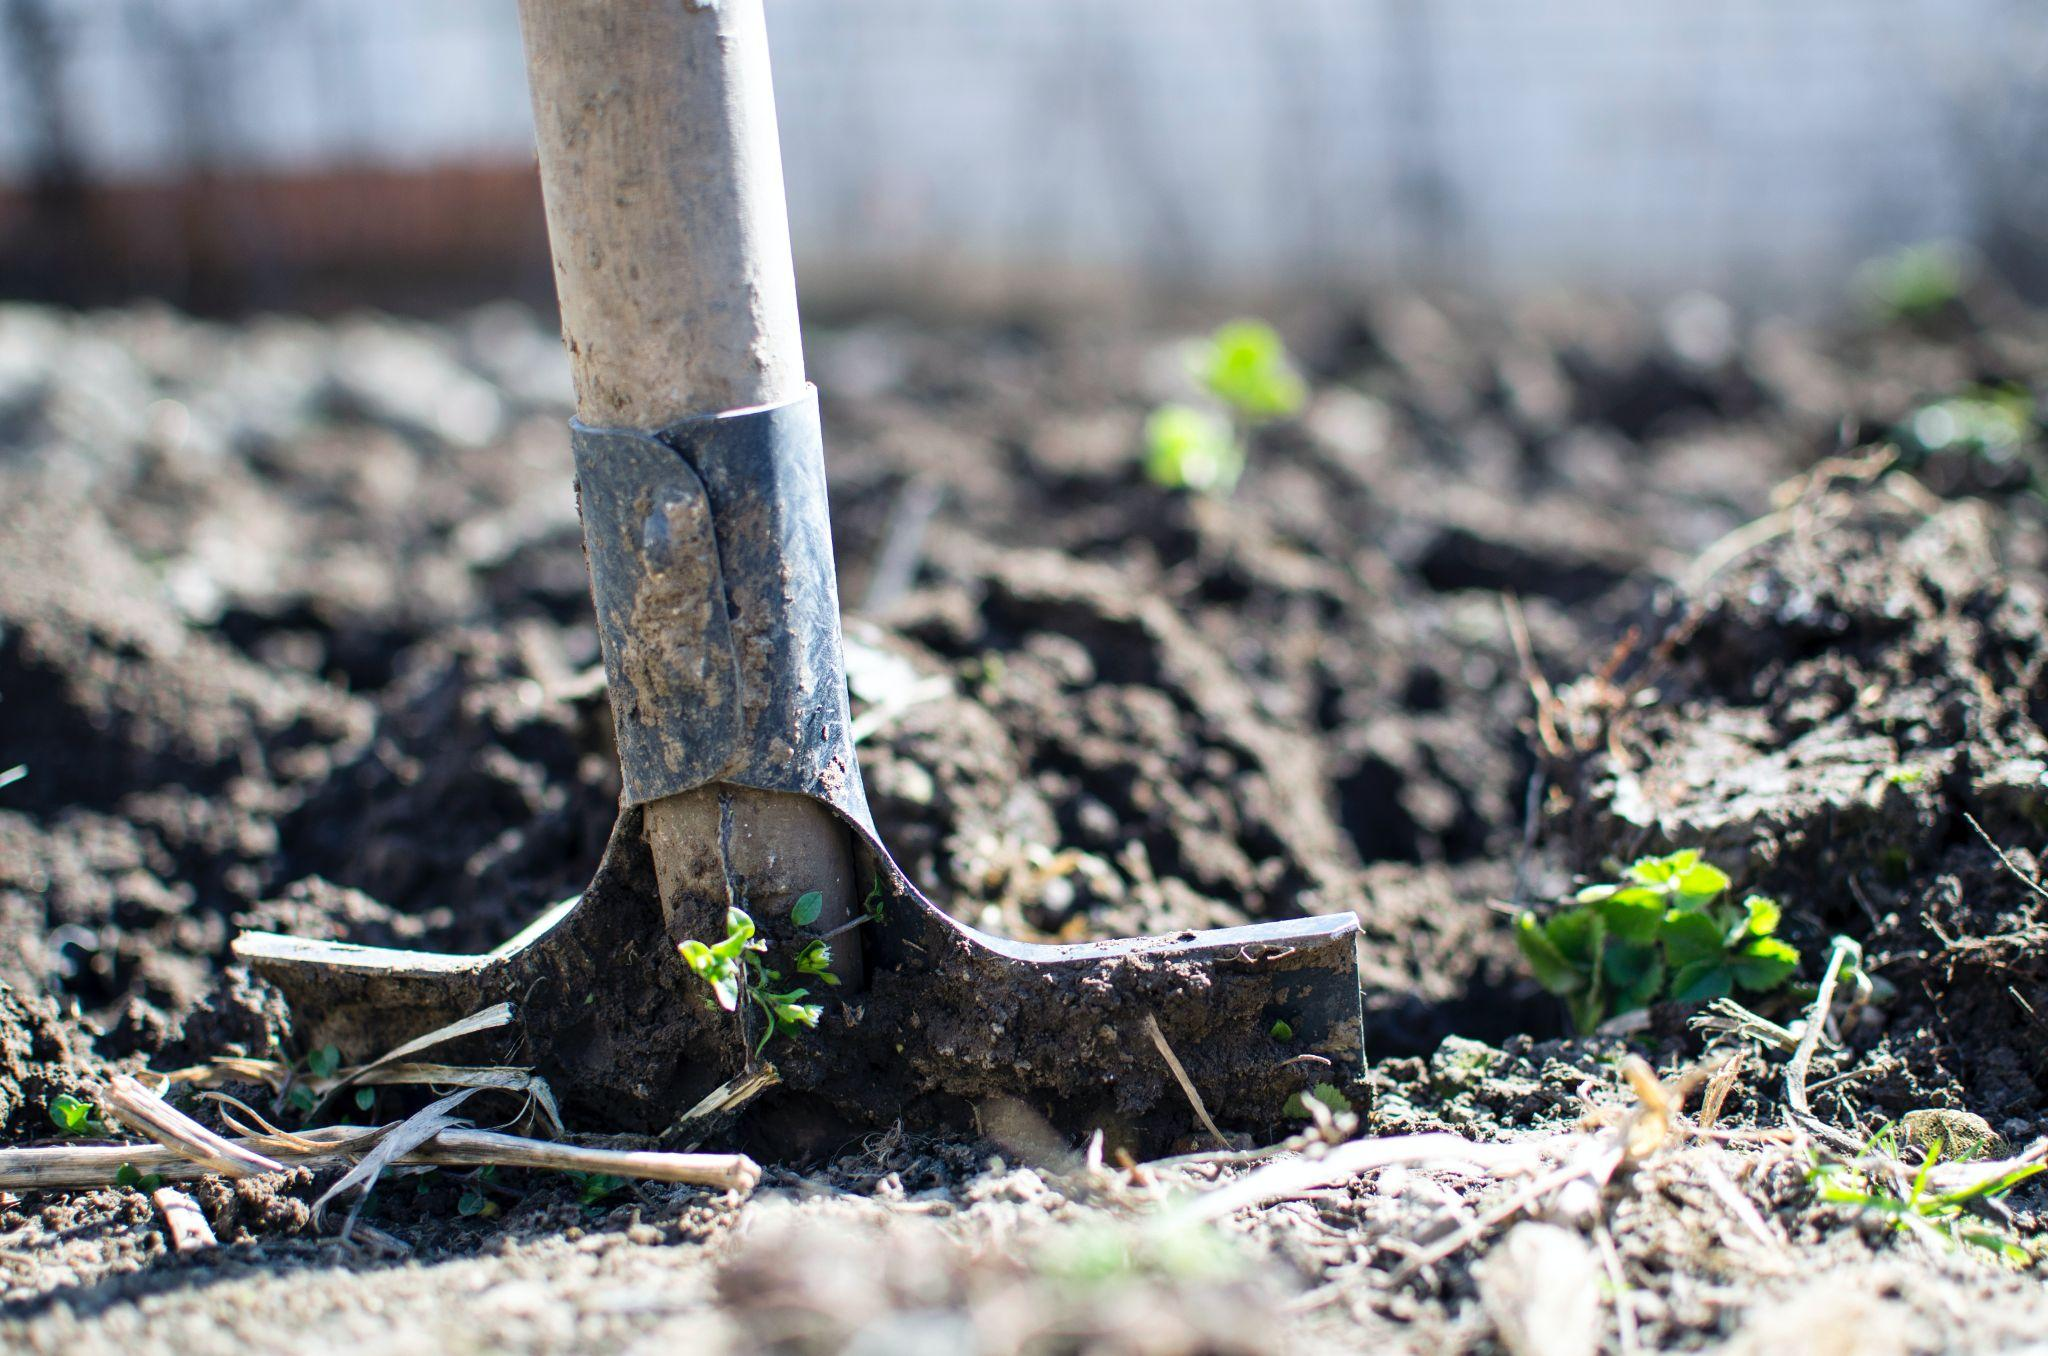
Now that you have cleared the area, the next step is to prepare the soil for the fresh turf. To give your turf the best chance to flourish into a healthy yard, you should first loosen the soil to allow new roots to grow well into the ground.
Depending on the compactness of your ground, it is often best to use a rotary hoe to prepare the soil adequately. It is much more effective than a manual effort as it can break up even the toughest and difficult soil areas. When using a rotary hoe, it is recommended the soil be worked to a depth of approximately 10-15cm.
CAUTION: be mindful of any underground pipes or cables in your yard and practice great caution around these areas when using equipment or machinery. If you are unsure, contact Dial Before You Dig to get an expert opinion.
5. Level out soil
For this step, you will finally begin to see the light at the end of the tunnel and envision your desired new lawn.
Now, all you need to do is use a rake to ensure the turf has a flat, mound-free surface so that it can best attach itself. Once this is done, you will need to fill in any gaps in your soil. Fortunately, you already have the equipment required from previous preparation steps and can rely on an excavator or bobcat to help you get the job done.
To finalise the surface, this is a great time to put down some quality and nutrient-filled fertiliser to give your turf the best start of life.

6. Lay out your turf
Besides stepping back and admiring your work, this is possibly the most exciting step in your re-turf process. It’s time to grab your fresh, healthy turf, put on your work boots and get to work.
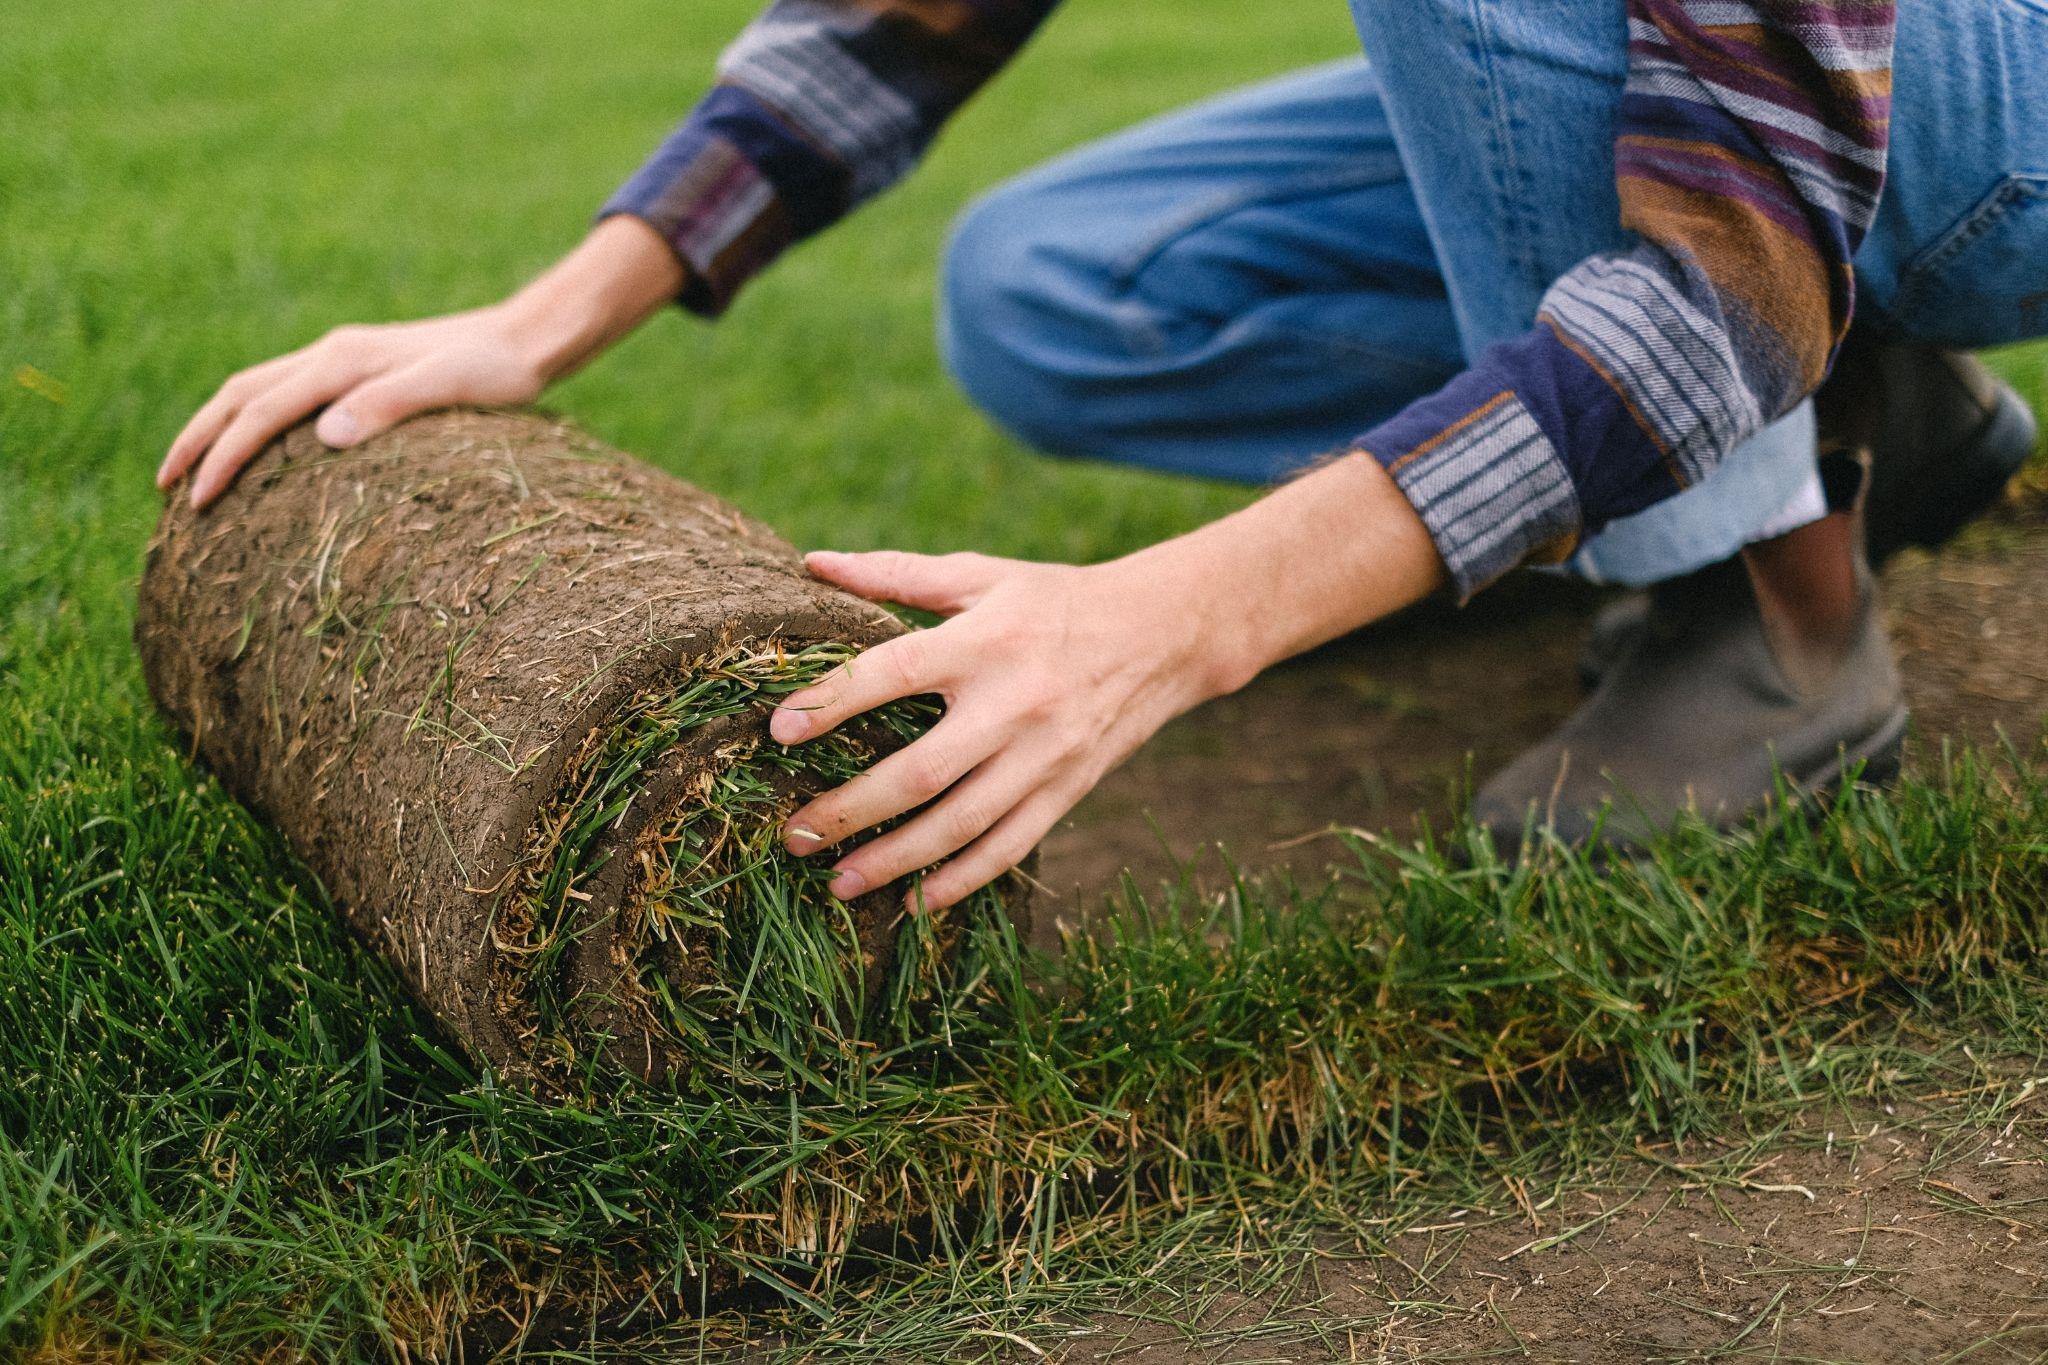
Using a lawn roller and ideally the help of a friend or two, it is a relatively simple process to lay out your turf across your yard and roll and smooth the surface accordingly. The added use of a lawn roller immensely improves the overall surface of your lawn, ridding any little bumps that are so easy to miss yet can significantly affect the appearance.
7. Care for your turf
After putting in the hard yards to efficiently and adequately lay down your fresh, healthy turf, the last thing you want to do is allow it to revert to its original damaged condition.
We understand the desire to stand back and revel in your hard work. However, taking a few extra steps of precaution for the few days after laying your turf can help maintain the healthy state of your lawn.
Firstly, it is ideal that you avoid walking directly on the lawn for several days after laying the turf to allow for it to grow into the soil properly. Watering the turf immediately and properly and then at least daily for the next couple of weeks, is critical to ensuring its growth. If you can resist, avoid mowing the lawn for these first few weeks and ensure the roots have all properly attached to the soil.

In Summary
Revamping your home and yard space can be exciting and put a new lease of life on your property. However, before you get carried away with the image of the final outcome, you must understand exactly what an optimal procedure demands.
We all want our home improvement attempts to be perfect, but sometimes this requires new and unfamiliar equipment. For more landscaping advice and how equipment hire can enhance your next project, contact Ryno Hire today. We look forward to hearing from you!
17 January 2022

