Tips to Help Get You Started
If you’re going to devote a portion of your budget, time, and energy (and summer) to building a retaining wall, it should earn its keep. Here are a few key design tricks to help you plan and create a perfectly aesthetic and modern pool area with a retaining wall.
1) Keep the walls low: Keeping walls under Queensland’s one metre wall regulation will help you to avoid paying engineer fees. Shorter walls also have an added bonus of helping create a sense of more space – more open than their tall counterparts. Tall walls and fences can encroach on a smaller space and make it feel smaller. A low but well landscaped retaining wall adds privacy without completely blocking out your surroundings.
2) Walls can be part of your yard’s living space. The ideal height for a seating wall is between 18 and 22 inches, or 45 to 55 centimetres. As a pool owner, your place is already a social hub for your neighbours and close friends. With the added benefit of utilising your retaining wall as a seating wall, you’ll provide your yard with extra seating without having to sacrifice valuable real estate (entertaining) space.
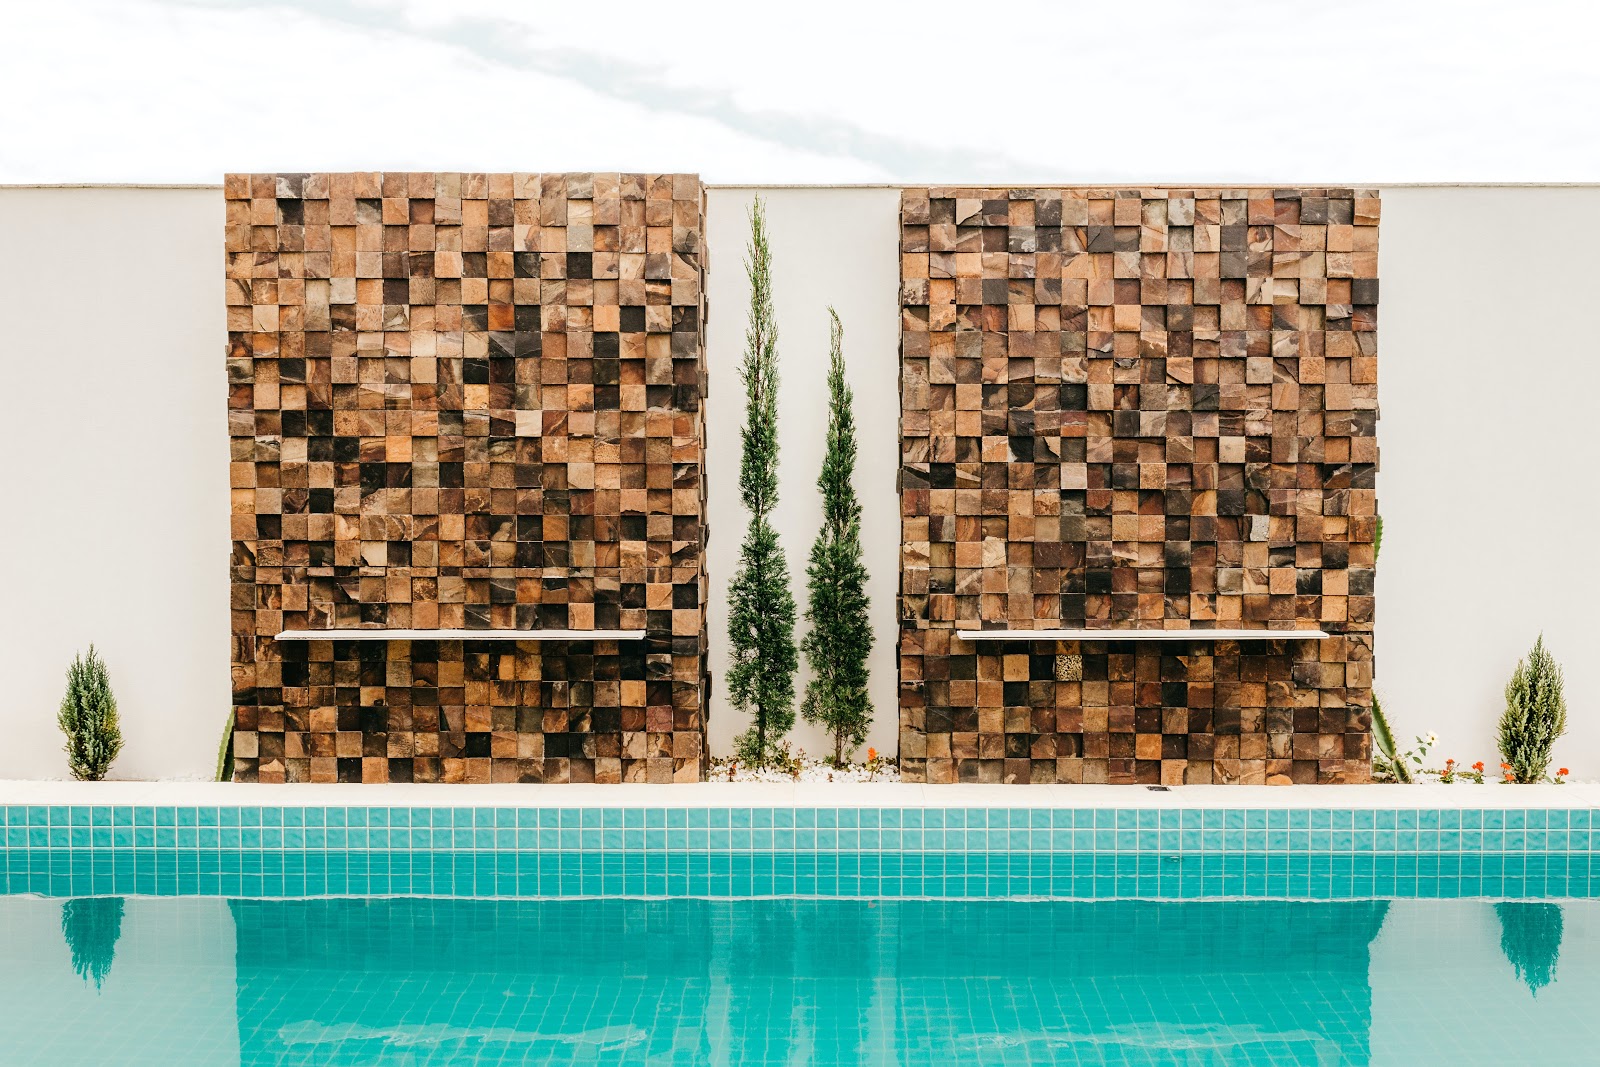
3) Higher walls means water features! If you want to go above and beyond with your design, creating a water feature with your retaining wall is that creative extra step. Think about it – you’re already building a wall, you just need to plan how you’re going to have the water cascading down. You may need to do some DIY plumbing or seek the help of a plumber, but how picturesque will your retaining wall look showcasing a waterfall? It won’t add too much more to the overall costs, and it will provide you with additional aesthetics and property value.
How to Plan Out The Building Process
Once you’ve planned out the dimensions of your retaining wall and have received any necessary approvals, the next step is to know your landscape. Before you get stuck into excavating, it’s vital you know of any subsurface utilities and where they are located so you can effectively work around your property’s boundaries. It’s never a good time digging into a water pipe so have a good look at your building plans. It can take a little time to request these from the council (and you may have to pay a small fee), so be sure to contact your local council well before your build.
Once you know the specifics of your backyard and have the final draft of your wall, it’s time to consider what kinds of materials you’ll want to use.
Types of Pool Retaining Wall Materials to Consider
The following are the most common material used in retaining walls for pool areas:
- Interlock concrete blocks: These provide that conventional look, they’re easy to install, and come in a variety of sizes, shapes, and textures.
- Natural stone / cinder block: These give a grander appearance to your home, but do take more time and effort to install due to their odd sizing.
- Turndown slab: Also referred to as Monolithic pour, this feature is essentially a concrete slab that encompasses the earth. These are great for smaller budgets while still providing a high class aesthetic.
- Wood: This is undoubtedly the most cost-effective material – you can essentially use any treated timber. Ensure you’re using straight angles in the installation as you go, otherwise your wall may end up looking a bit lopsided or slanted.
Additional Things to Consider
Lastly, here are some quick final tips and tricks that you should consider before you go ahead with your build:
- Do all of the materials work together harmoniously? Or is your yard looking a little haphazard? To help you visualise your new retaining wall and how it will work with other materials and colours in your yard, always get samples of your blocks to place near your pool to “test it out” essentially.
- If landscaping is your passion, you may wish to invest in design software that can help you develop a 3D render of your backyard with its modifications. That way, you can really understand the final picture before you get started.
- Mark out the project area with spray paint or pegs before digging. Be sure to mark out a wide enough area to allow room for a plate compactor (which is only about 450mm wide).
- When taking measurements, as a tip, it is a good idea to order 5% extra to cater for any errors or breakage and save yourself trouble down the track.
- For a breakdown on building a retaining wall, check out one of our previous articles on retaining walls for a more comprehensive guide.


